Quick Test Professional - The starters Guide
Chapters
Test recording and playback with QTP
Record function records the user actions of the application to automatically generate the scripts that can be played back later. Using record function, users can automation build scripts without knowledge of any scripting language.
Importance of Record and Playback:
- Using record function, users can automation build scripts without knowledge of any scripting language.
- It can be used for recording both mouse movements and keyboard inputs.
Recording modes:
There are different modes of Recording,
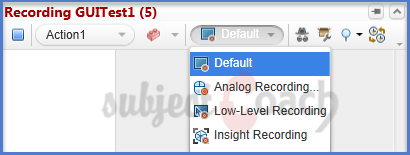
1) Normal Recording: It is a default recording mode that records the objects functions and operations implemented on the application under test.
2) Analog Recording: In this recording mode, each and every movement of the mouse as you drag the mouse around a screen or window can be recorded. This mode is valuable for recording operations that cannot be recorded at the level of an object, for example, recording a signature produced by dragging the mouse.
3) Low-Level Recording: Permits user to record any object of the application. Recording happens at the object level and records all run-time objects as Window. Use low-level recording technique, useful to record exact coordinates of the object under test.
4) Insight Recording: In this case, record operation happens based on its appearance, not on its native properties.
Steps for Record and Playback are as follows:
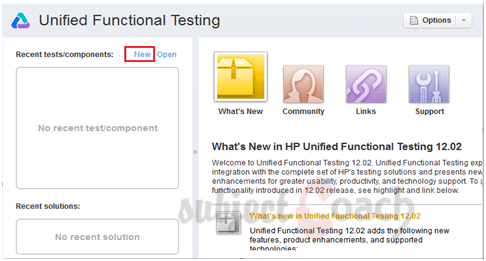
Step 1: Click on "New" test from the Start Page as shown below:
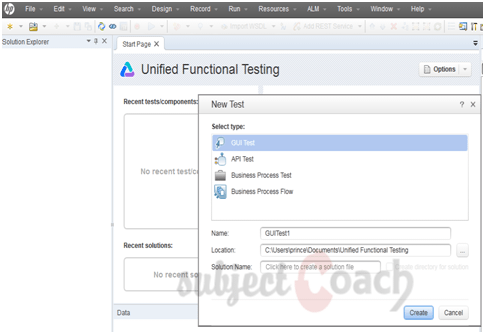
Step 2: The new test window opens with various test types; here GUI test type has been automatically selected, by default. But, user can also select the test type from the list as per their requirement.
Step 3: A new test window screen opens as shown below. Here, click on "Action1" Tab for further process.
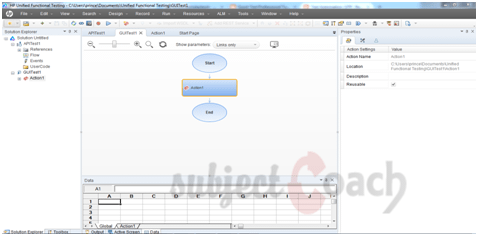
Step 4: The Action1 window will look like the figure as shown below.
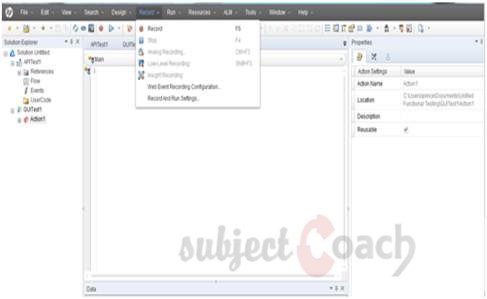
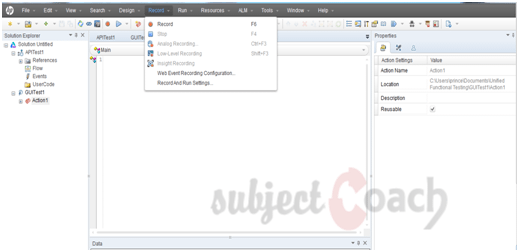
Step 5: From “Record” Menu, select "Record and Run Settings" as shown below.
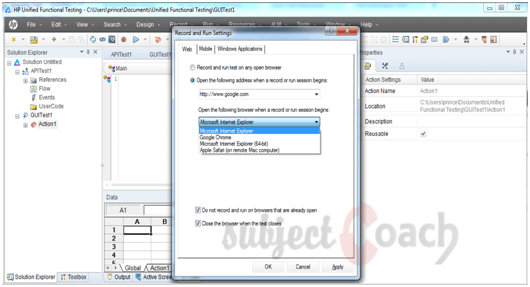
Step 6: In the Record and Run Settings Dialog window, User can also select the Web browser on which the web application will open; by default selection is Microsoft Internet Explorer.
After doing required on the Record and Run Settings Dialog window, click on Apply and then click on OK.
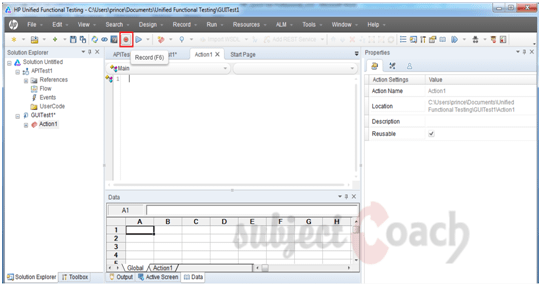
Step 7: Click the Record Button.
Step 8: Once user click on Record button, Internet Explorer automatically opens URL: http://www.google.com/ as per the settings.
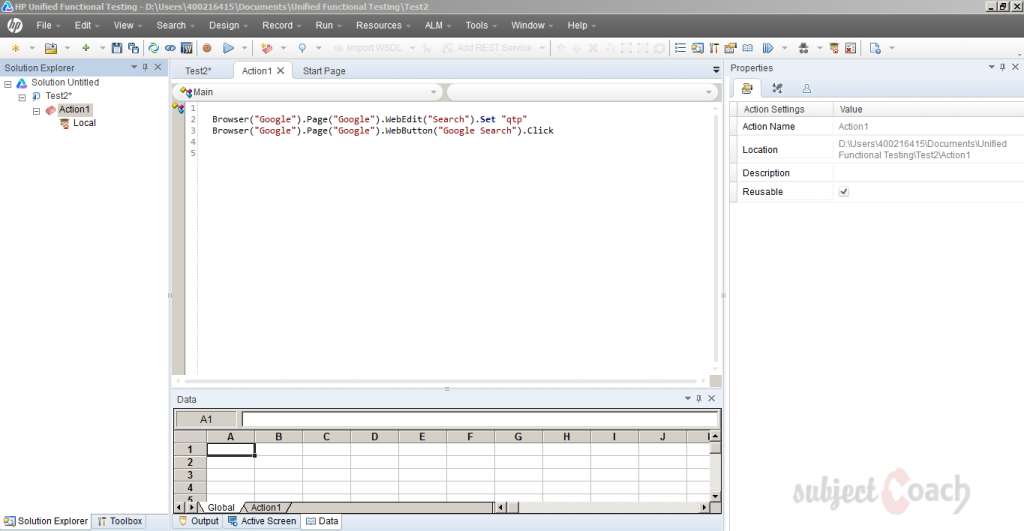
- In this particular Web address, whatever action you will do, scripts will generate for that particular action. After recording process done, click on stop button, generated scripts will be shown in Action1 Pane as shown below.
- Here going to google.com and inputting the test “qtp” and click on search button and the generated script is.
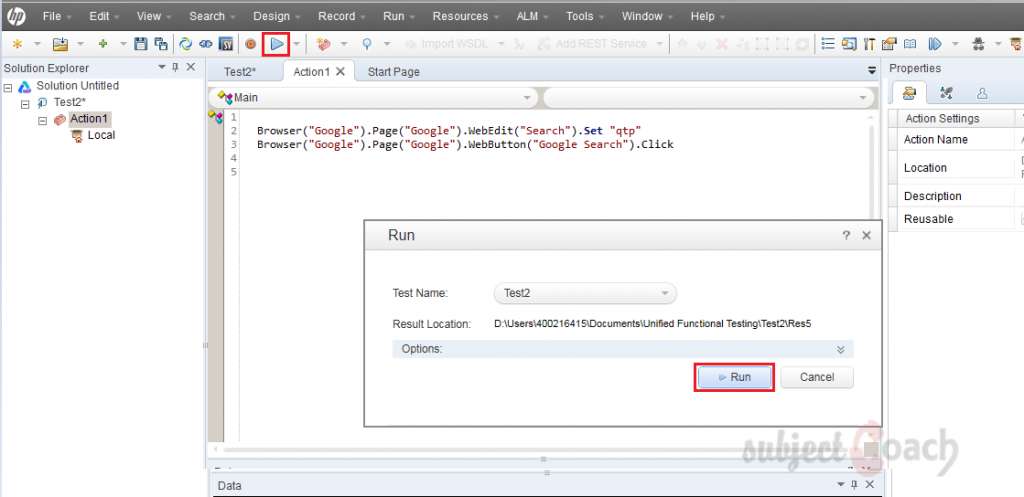
Step 9: Clicking on the playback button to playback the script, to display result as shown.
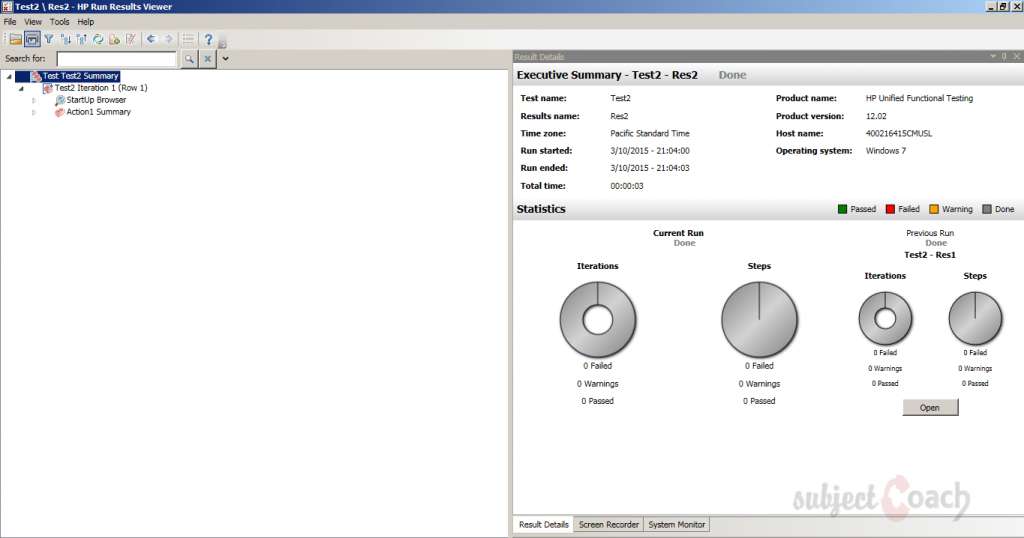
Step 10: The result window will display as shown below.
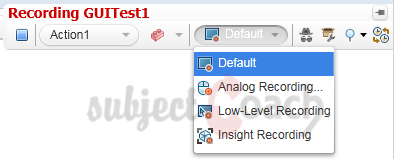
How scripts generate in all recording modes?
After clicking on Recording button, toolbar appears that facilitates tester to select the recording mode from the recording pane that appears on the screen once recording starts.
Let's go on with an example
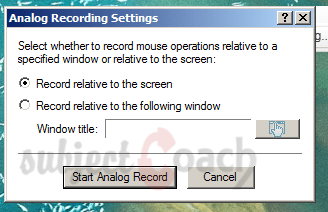
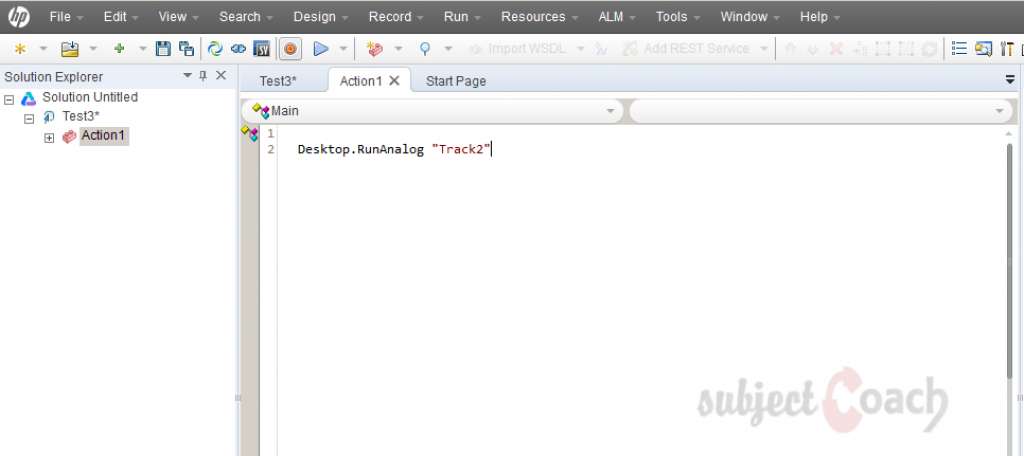
Recording in Analog Mode:
This is used to enable to record the mouse and keyboard operations. First start normal recording then go to Automation select Analog Recording. The dialog box of Analog recording opens, click Start Analog Record. Here going to google.com and inputting the test “qtp” and click on search button and the generated script is.
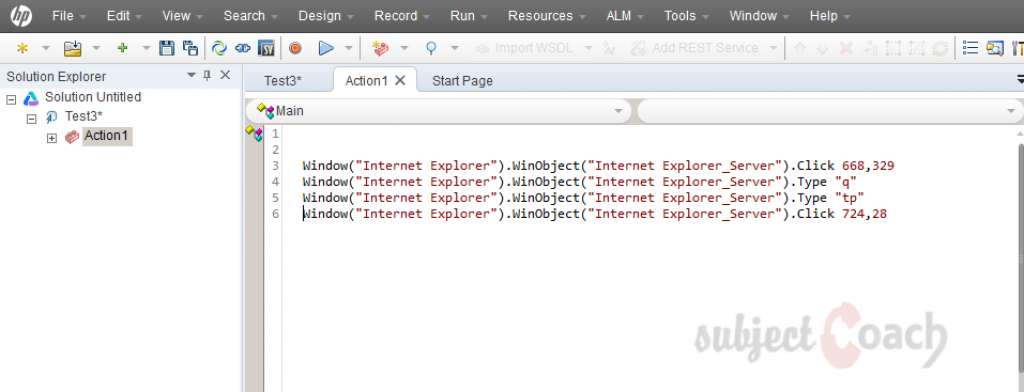
Recording in Low-Level Mode:
This mode is used when exact coordinate of the operation is essential. Start the normal recording then select Automation select Low Level Recording. Here going to google.com and inputting the test “qtp” and click on search button and the generated script is.
Recording in insight Mode:
In this mode UFT records object as insight object for images and identifies the other objects like search box as window object WinObject and perform action on them. Script generated using above example.

Description
In this tutorial, we will get to know Quick test professional. At the time of writting QTP is at version 12.2. This tutorial is subdivided into multiple parts as shown below
- What is QTP
- Automating tests
- Environment
- Recording and Playback
- Object Repository
- Actions
- Data Table
- Checkpoints in QTP
- Synchronization
- Smart Identification
- Debugging and Error handling
- Recovery Scenarios
- Environment Variables
- Library Files
- Test Results
- GUI Objects
- Virtual Objects
- Accessing Databases
- Working with XML
- Descriptive Programming
- Automation Object Model
- A work on Frameworks
Leave your feedback for us, Feedback help us improve our tutorials.
Prerequisites
Some knowledge on Windows OS and VB Script is recommended
Audience
Students who wish to learn QTP
Learning Objectives
Learn QTP
Author: Subject Coach
Added on: 16th Mar 2015
You must be logged in as Student to ask a Question.
None just yet!