HP Quality Center - Quickly get started
Chapters
Server Side Configurations
After successful installation of HP-ALM, user can continue to work with ALM only after creating domain, users and project.
Steps to Create Project, Users and Domain have shown below.
Creating Domain:
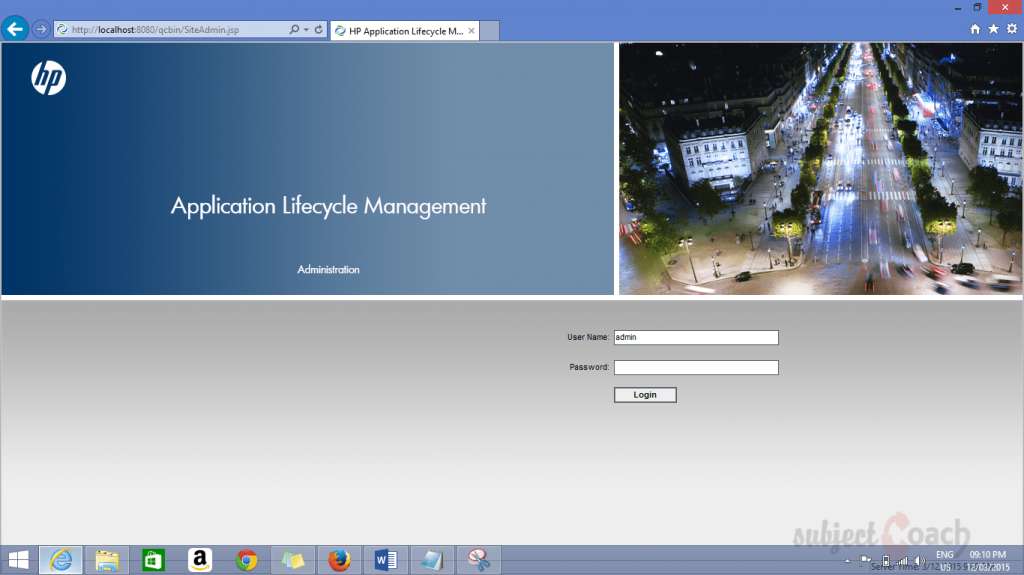
Step 1: Get into Site Administrator Page, launch QC using the URL - http://localhost:8080/qcbin/SiteAdmin.jsp and enter the Admin credentials that were setup at the time of QC installation. Run as Administrator.
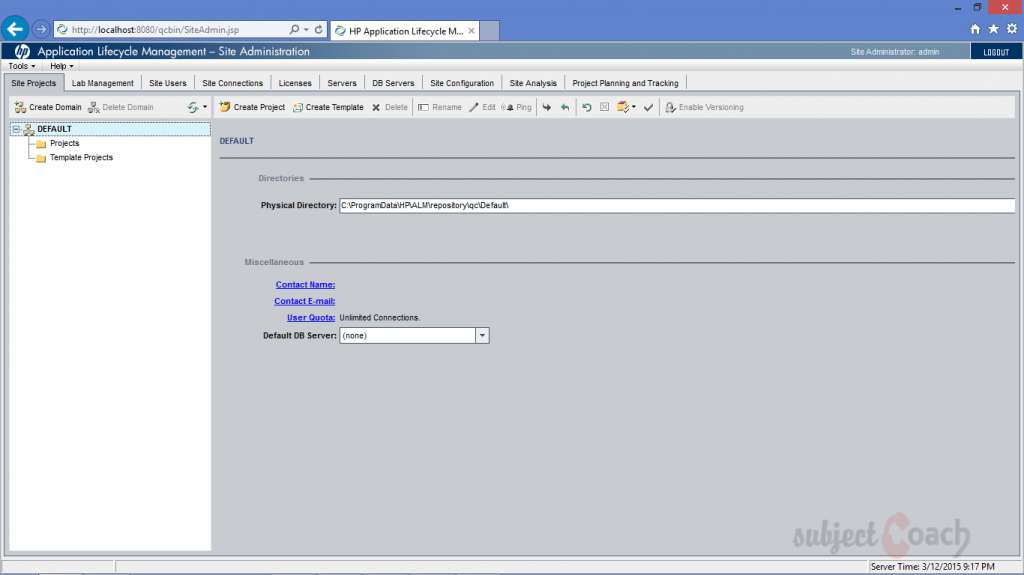
Step 2: User needs to navigate Site Projects Tab as shown
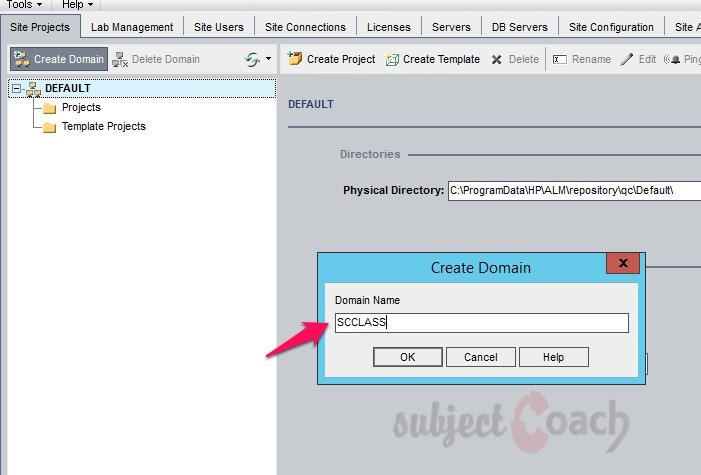
Step 3: Enter Domain Name after Clicking on Top Left Corner on 'Create Domain' Button.
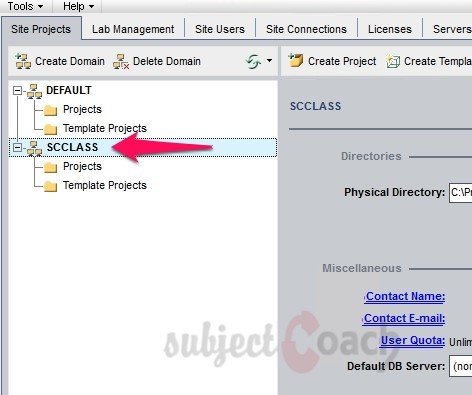
Step 4: Created Domain will show up as below.
Creating Projects:
After Domain is created, user need to create projects. Step to create 'Projects' as shown.
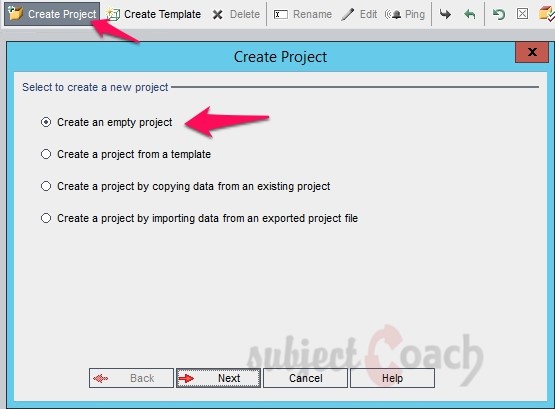
Step 1: Select Domain and click "Create Projects" button to create project under that particular domain.
Step 2: When the Create Project Wizard opens, user needs to Select "Create an Empty Project" and click "Next".
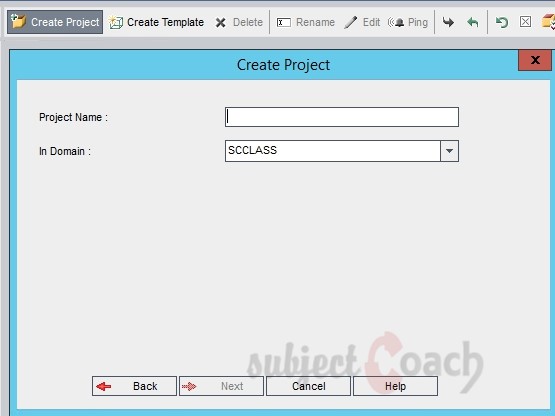
Step 3: User need to enter the "Project Name" and Select Domain and click "Next".
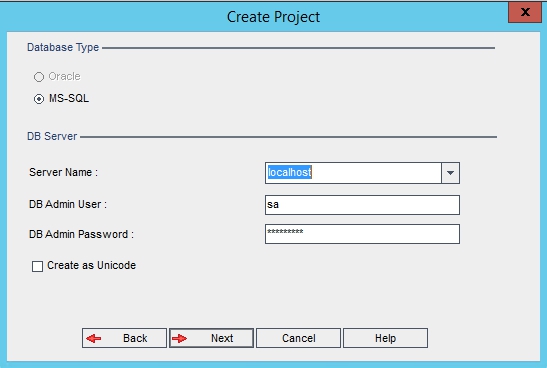
Step 4: Database Credentials needs to entered and click "NEXT".
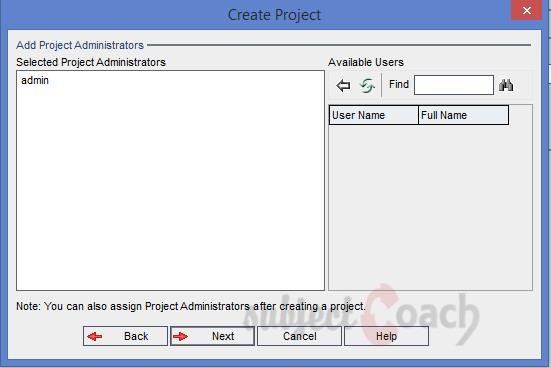
Step 5: Select the Project Administrator user Name and click "NEXT".
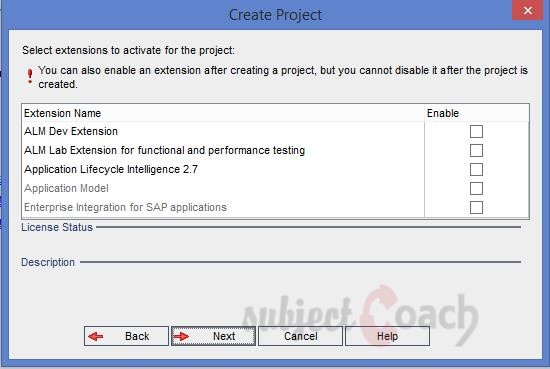
Step 6: Check the extensions to activate the project and click "NEXT".
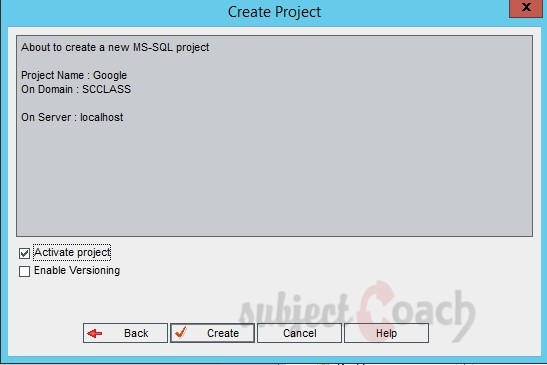
Step 7: Check the Activate check box and Enable Version controlling if needed and click "NEXT".
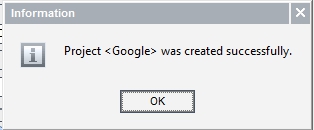
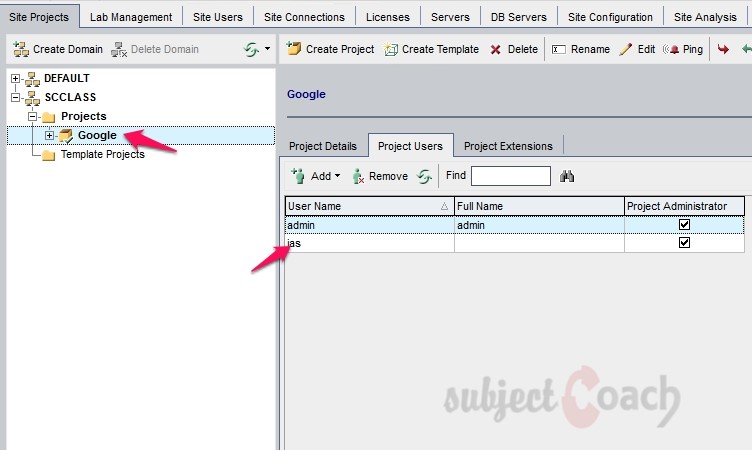
Step 8: The user’s project "Google" is created successfully. Click "OK" to verify the created project in the Project Pane.
Creating Users:
Below steps needed to be followed to create user:
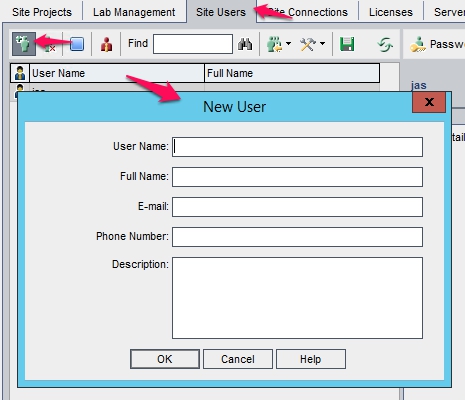
Step 1: Select Site Users Tab as shown and click on "Add New User" Button.
Step 2: The New User window pane opens, Enter the User details and click "OK" button.
Step 3: After creating the user, give project access to the user.
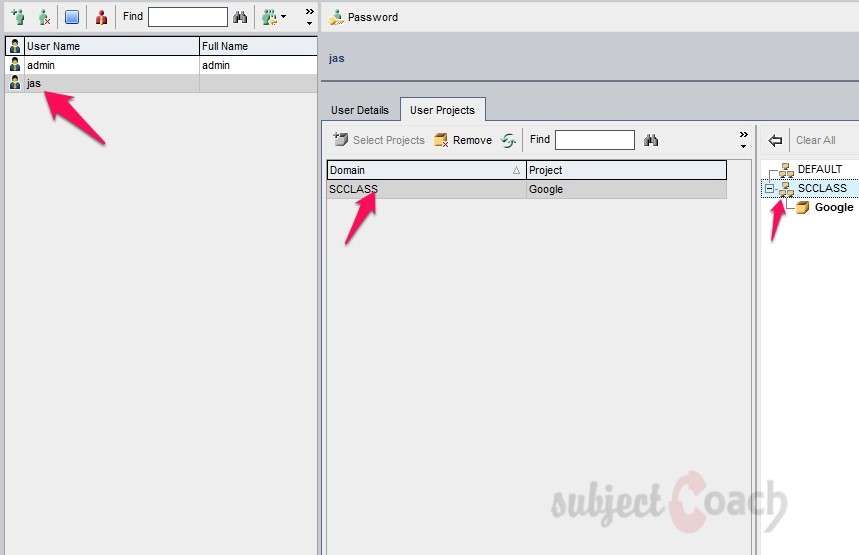
Step 4: Click "Users Projects" Tab to verify the user list who had access to the project.
Description
Contents of this tutorial includes parts below
- What id HP Quality Center
- Environment Set up
- Configurations on Server Side
- Getting to know some commonly used features
- Management Tab
- Requirements
- Test Plan
- Test Lab
- Integrating QTP with QC
- Defects
- Dashboard Analysis
- Customization
This tutorial is to the point effort to quickly get you started with HP quality center.
Audience
Students looking to get started with HP Quality Center
Learning Objectives
Quickly familiarize yourself with HP Quality Center
Author: Subject Coach
Added on: 23rd Mar 2015
You must be logged in as Student to ask a Question.
None just yet!