Getting started with JDBC
Chapters
Setting up environment for JDBC
Download J2SE Development Kit 8.0 (JDK 8.0) from Java Official Site.
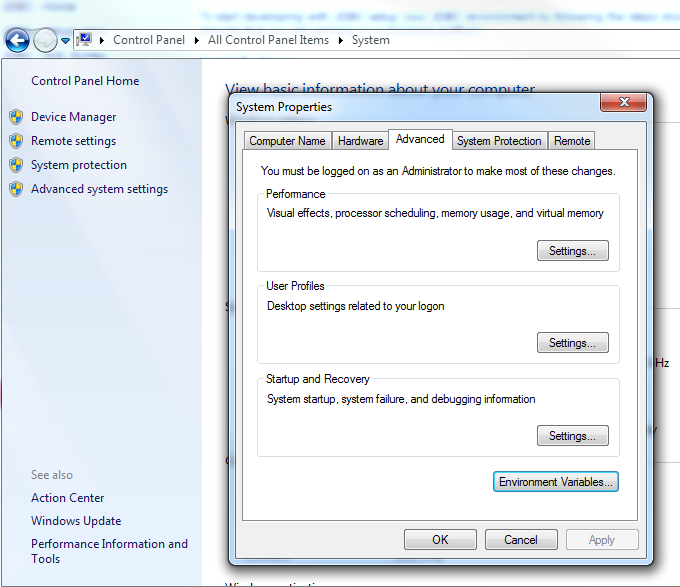
Set the environment variable as below:
- JAVA_HOME: Set Environment to directory of JDK installation. e.g. C:\Program Files\Java\jdk1.8.0
- CLASSPATH: Set Environment to C:\Program Files\Java\jdk1.8.0_31\jre\lib (You have to replace this path to whatever JDK version you are using)
- PATH:Set Environment to C:\Program Files\Java\jre1.8.0_31\bin.
JDBC drivers does not come pre packed with JDK 8, thus we have to use packages that are support by various vendors.
Install Database:
Install relational database of your choice, some of the example is as below:-
- MySQL DB: Open source database can be downloaded from MySQL.
To install JDBC connector for mySQL, download the latest version from MySQL website. http://dev.mysql.com/downloads/connector/j/
- Download and unzip in a preferred directory, C:\Program Files\MySQL\mysql-connector-java-5.1.34.
- Set the CLASSPATH variable pointing to C:\Program Files\MySQL\mysql-connector-java-5.1.34\mysql-connector-java-5.1.34-bin.jar
If you are using MSI installer on windows, then most of the stuff is taken care of you automagically
- PostgreSQL DB: Open source database can be downloaded from PostgreSQL, download the driver from https://jdbc.postgresql.org/download.html and configure classpath same way as shown above.
- Oracle DB: Commercial database can be downloaded from Oracle.
In this tutorial we will use MySQL as our RDBMS,
After installing the Mysql database, it should be configured with appropriate password for user root. Creating another user ID and password can be done by logging with root ID and password. Operation like database deletion and creation needs administrator ID and password.
Creating a database
We will create Users database, Below is how we do it using mysqladmin command
C:\Program Files\MySQL\bin>mysqladmin create Users -u root -pEnter password: ******
Create Table
Create User table in USERS database:
Step 1:
Make sure that mysql.exe is in environment path. Before you jump onto Step 2, or you have to change the current working directory to mysql/bin folder. On linux, when you install mysql, generally the cammand path is automatically added to the system path.
Step 2:
Database Login as follows
|
C:\>mysql -u root -p Enter password: ***** mysql> |
Step 3:
Create table USER
|
mysql> use Users; mysql> create table USER -> ( ->user_id int not null, ->user_age int not null, ->user_first varchar (255), ->user_last varchar (255) -> ); Query OK, 0 rows affected (0.00 sec) mysql> |
Create Data Records
Add records into USER table
|
mysql> INSERT INTO USER VALUES (100, 5, 'Yuvraaj', 'C'); Query OK, 1 row affected (0.00 sec)
mysql> INSERT INTO USER VALUES (101, 2, 'Nimrit', 'K'); Query OK, 1 row affected (0.00 sec) |
Description
This tutorial is focused on getting you started with JDBC 4.1. This tutorial has following parts
- Introduction
- SQL Syntax
- Setting up Environment
- Getting started with some samples
- Connecting to database
- Statements
- Result Sets
- Data Types
- Transactions
- Exception handling
- Batch Processing
- Streaming Data
- More JDBC Examples
Leave your feedback to help us improve next time. Also let us know if you see any errors that needs to be corrected
Prerequisites
Understanding of Java language a must to understand various things in this tutorial
Audience
Absolute beginners who wants to get started with JDBC
Author: Subject Coach
Added on: 8th Mar 2015
You must be logged in as Student to ask a Question.
None just yet!